One Godzilla of a post!!

I try to keep my posts pretty short whenever I can. I don't like to read long lengthy explanations about things and you probably don't either :) But we did soooo much fun stuff this week that I haven't gotten around to posting yet that I need to catch up!!
So here goes....
Field Trip #1- Daiso

 A while ago I noticed a new store went up in South San Francisco. It was named Daiso and it looked like a restaurant to me so I never really checked it out.
 Well it turns out that it is a super cool Japanese variety store where A LOT of the items are $1.50 or under!! So it seemed like a great idea for a field trip! The kids fought the idea but two steps inside and they were in awe of their Mother's brilliant idea!!

We bought a Japanese Calligraphy set, and some plain white paper fans that we incorporated into a fun project.
 Painted Fans
For the project you will need:
- plain white fans- you can buy these or just accordion pleat some white paper and staple the bottom.
- watercolors
- Japanese Calligraphy Set- this is totally optional.
- Examples of Japanese calligraphy- google :)


Beautiful and useful for the warm Spring days coming up!!
Field Trip #2 - the Japanese Tea Garden
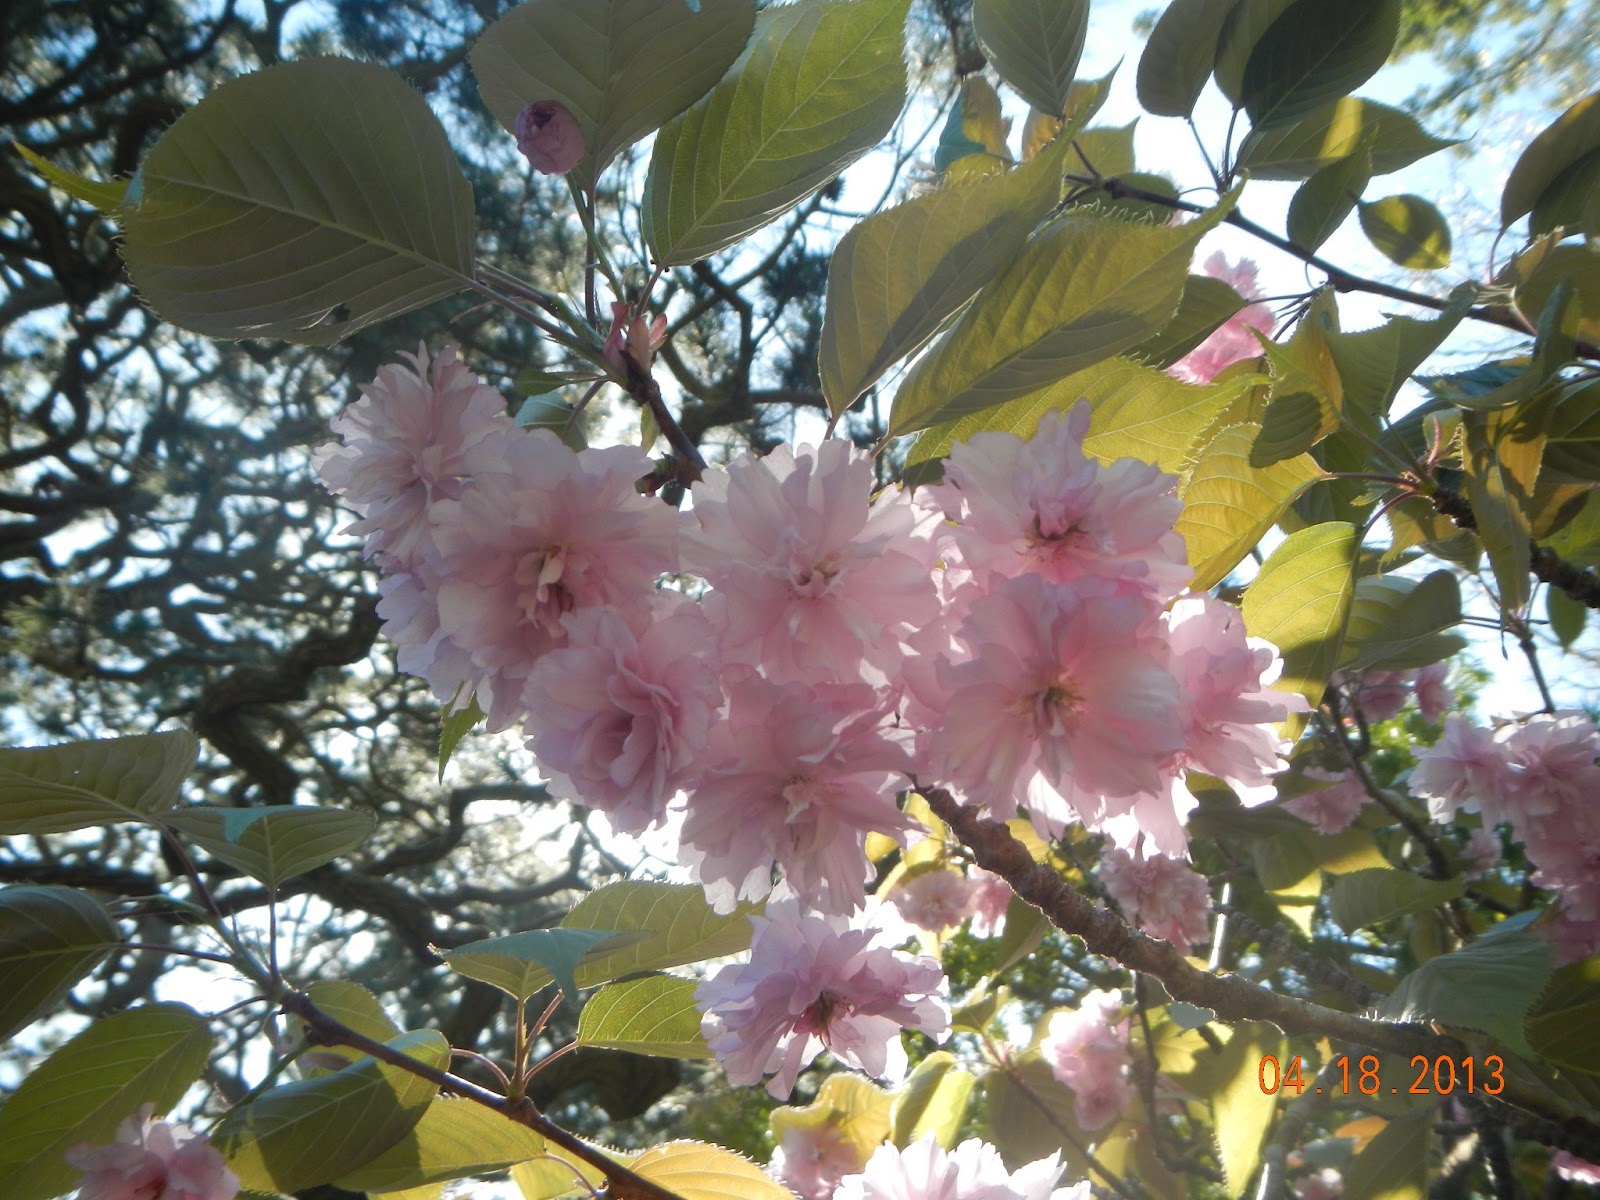
 It was a beautiful Spring day yesterday so after school I took the kids to the Japanese Tea Garden in Golden Gate Park. I remember going there once for a school field trip, so I thought the kids would enjoy it too! They sure did. It is so beautifully done, quiet and peaceful with arching bridges and waterfalls. Beautiful Cherry blossom trees in bloom reflected in koi filled ponds.

The kids and I explored all the paths and then had some iced green tea and almond cookies in the tea house. The gift shop was a little tension filled because it was filled with beautiful ceramics that the kids just HAD to touch!!
 I would have to say that their highlight was the bridge. This bridge is shaped like a rainbow and you have to climb up and over it. My daughter asked me why they would make a bridge like that and my only answer (aside from "it's prettier) was so that boats could go under. I can only assume they didn't have drawbridges in ancient Japan.
There was a large pagoda and other shrines. Pagodas are Buddhist shrines that are meant to reach to the heavens. Stacked rather symbolically like the many lifetimes it takes to reach full enlightenment. There was just so much beauty everywhere and one man to thank.

The tea garden was originally designed as a 1 acre "Japanese village" exhibit for an International Exposition in 1894. After the fair ended, the landscaper, Makoto Hagiwara, was allowed to live on the property and maintain and build on the gardens. Mr. Hagiwara poured his heart and soul into it and built the gardens up into 5 acres of Japanese grace and beauty. He and his family lived there for many years. Unfortunately, in 1942, at the height of WWII, America decided that all Japanese Americans should be put into internment camps. Mr. Hagiwara and his family were forced to leave their beautiful home. After the war when the Japanese Americans were freed, Mr. Hagiwara and his family were not allowed to return to their house in the Tea Gardens. That period was a sad time in American history and, of course, for the Hagiwara family. Thankfully, his beautiful work is still available for the public to visit and will remain a testament to Mr. Hagiwara's sense of beauty, grace and hard work. I dedicate our next art project to him.
Cherry Blossom Tree
 For the project you will need:
- small branch from a tree
- empty can or cup
- plaster of paris or lump of clay
- pink or white tissue paper
- glue
2. Stick your stick into can and make sure if you are using the plaster to keep it propped up. We used tape to hold it where we wanted it. Let it harden.
 3. Cut the tissue into squares and then crumple them up into little "blossoms". This is fun for any age.
4. Glue the blossoms to the tree and step back to admire the beauty!

Happy Spring!!