I almost forgot to post this, life got a little ahead of me there for a minute! We had a busy day yesterday, my daughter had her final softball game/pizza party/trophy celebration and then we went swimming at Grandma's....ahh, life is good. Today it's freezing out- go figure. Anyway, we made this project a few days ago and we were able to incorporate my son's love of sword play into an easy project about the Maltese Cross. "What is the Maltese Cross?", you ask. Well, allow me to give you the history of this symbol.
 The Maltese Cross (also known as the Amalfi Cross) is a cross symbol with 4 even sides, each side with 2 points. It is most often associated with the Knights of Malta (a.k.a. the Knights of St. John or the Knights Hospitalier), who controlled and protected Malta from 1530 to 1798.
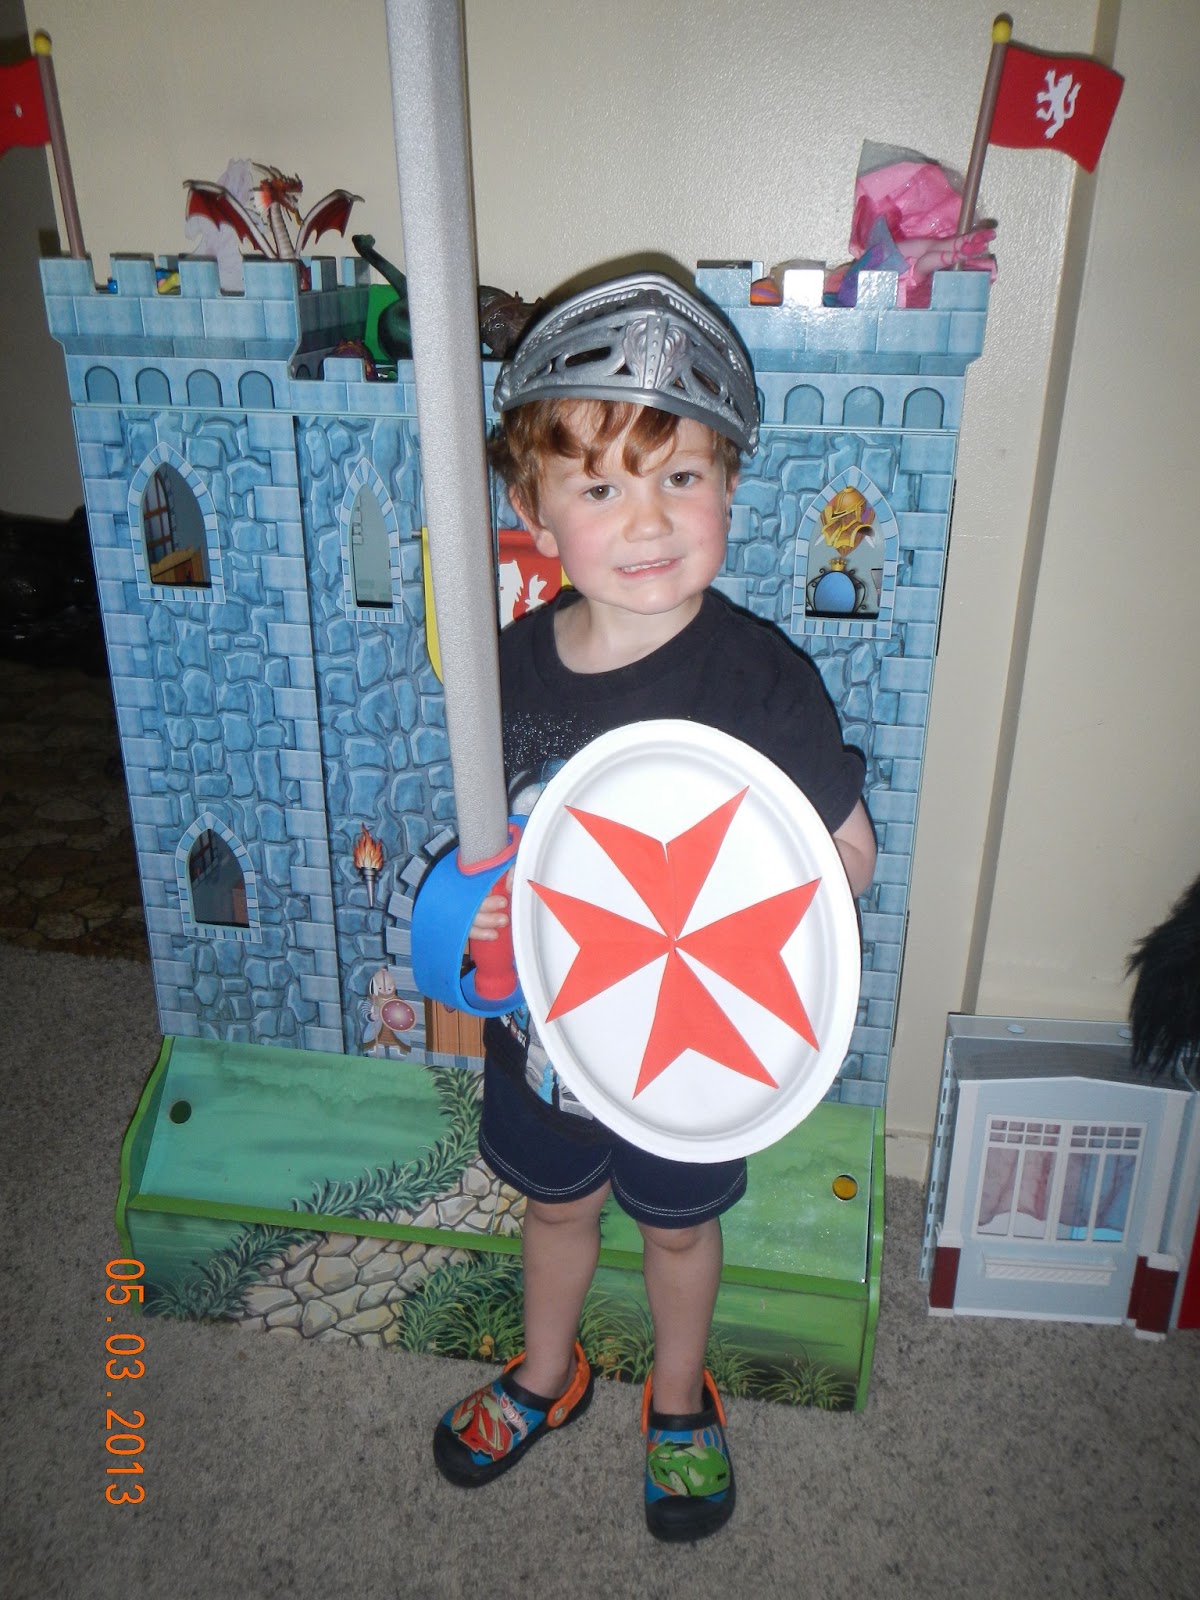
 Each of the eight points on the cross stand for a different aspect of the moral code they taught and lived by.
- loyalty
- piety
- bravery
- generousity
- contempt of death
- glory and honor
- helpfulness of the sick and poor
- respect for the church

My son loves playing "knight" - you know, with the swords and shields and dragons and damsels in distress. So we made him an honorary Knight of Malta with our next project...
Maltese Cross Shield
For the project you will need:

- cardboard (or paper platter worked perfect)
- red construction paper (or paint)
- glue if using paper ^
- scissors if using paper
- pipe cleaners (for handle)
- tape (to tape on handle)
2. Turn it over and tape one or two pipe cleaners to the back to make a handle.

3. Now the hardest part (for me anyway) cut out 8 triangles that when put together will form the cross. It took me a few tries to get the angles right. If you look at the picture above, I used only the long triangles. If we had painted the cross on it probably would have been easier, but I thought the triangles made a good geometry project. Because, you know, geometry is always a good project for 3 year olds :)

4. Glue the triangles into the shape of a Maltese Cross. This was also a hard part for us because my son wanted to glue them in a "Batman" shape, but since this whole project was supposed to be about the Maltese Cross, I stifled his creativity for a minute. I let him take them all off and rearrange them after I took the picture.
5. If you have older kids making the cross, they could write the different morals on the cross or decorate it more. My son just wanted to get to the playing, so we left it rather simple.